 So you've spent a ton of time writing and recording a song and love how it sounds. There's just one final step between the recording on your computer and sharing your music with the world — mastering. To ensure the best possible sound from your final master, it's essential that you submit tracks for mastering that have the correct levels and, above all, a great mix. Here are a few tips to help you get the best possible mix to submit for mastering.
Before even considering mastering, make sure your mix is the best it can be. There's a saying — "Trash in, trash out". If your mix has levels that are all off, distortion, off-key vocals, too much compression, etc., no amount of mastering will make it sound better. When mixing, it's good practice to solo each track independently and listen all the way through. Make sure there are no weird hisses, pops or unattractive vocal spit/breathing sounds you didn't hear with the other instruments playing. These could potentially become amplified during the mastering EQ process. You should also listen to your mix on as many different speakers as possible. If you're recording from home, chances are your room isn't treated, and your monitors may not be the best money can buy. That's ok and can be overcome by listening to your track in the car, your home stereo, your friend's car, headphones, earbuds, or an old boom box - you get the idea. Play your song in as many systems as possible and listen for overbearing frequencies. In most home studios, the low end is the biggest problem as you may not hear some sub 200hz frequencies when playing back on your computer, but those frequencies can cause the music to get muddy and muffled on some consumer systems.
It's essential to remove any processing you've added to the master bus before submitting your audio for mastering. This includes EQ, compressors, limiters, etc. - basically anything you've added during the mixing process should be removed. When you mix down a track you're working on, it may be tempting to throw a limiter on the master bus to increase the volume of your track. That's fine, but when it comes to the final mixdown, remove it, as it will ultimately result in less headroom which won't leave much space for mastering to occur.
 Every song has a dynamic range. This is the difference between the loudest parts of a song and the softest parts of a song. To get your track's volume to a proper level for mastering, you'll want to find the loudest part of your song and ensure the peaks are between -8db and -6b. This is probably the most crucial step to getting a good-sounding master. If your track is too loud, you risk clipping (which sounds nasty, let's be honest) so to avoid this, your entire track will have to be softer in the final master. Pay attention to your levels if you want a nice, clean, loud track. When you record, it's good to have the signal coming into your DAW around -16db to -12db. When all your tracks are combined, the resulting level will be higher, so starting low enough will help ensure your mix ends up around -8db to -6db. If you need to lower the peak volume of your song, don't just adjust the master fader. You need to go track by track and lower the levels on each one. If you have automation in place, this can be a huge pain, so it's best to get the correct levels when you record, if possible.
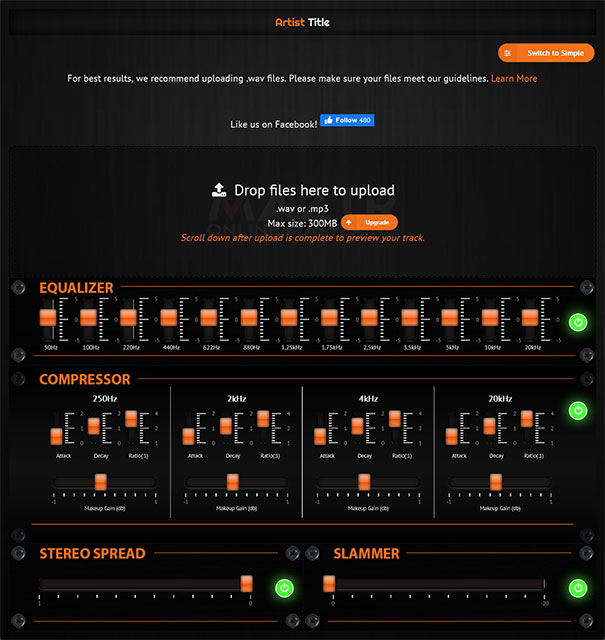
While you can upload an MP3 to Maztr, we don't recommend it if you have anything of higher quality. Ideally, you want to upload 44100hz WAV files (16-bit or 24-bit). Uploading a 24-bit WAV will give you the best possible results from your master.
When you bounce your pre-master from your DAW, you'll probably have the option to enable dithering or normalization. These are meant to enhance the sound of your export and should be disabled. Normalization will alter the volume of your export and will eat up any headroom you may have in your mix. If you just spent a bunch of time readjusting the volumes of each track in your mix to get to proper headroom, you'll be undoing it by enabling normalization. Dithering is the final stage of mastering and, if you export your song with dithering or normalization enabled, you're ensuring your final product will suffer for it.